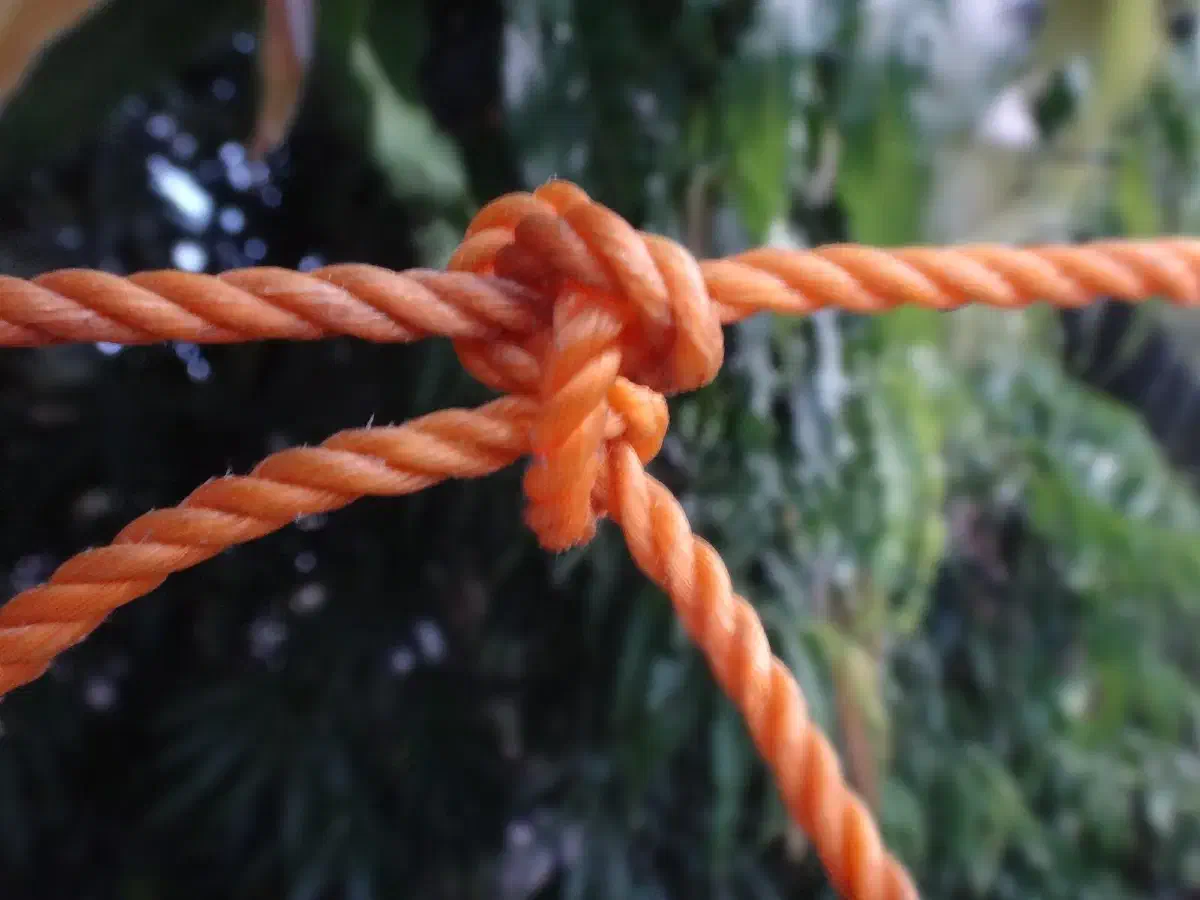
A length of rope is only as useful as the knots you can tie in it. The right knot lets you pitch a tarp in a storm, lower a pack off a ledge, lash poles into a frame or hang food out of reach of animals. The wrong one slips, jams or fails under load. You do not need to know hundreds of knots. You need a small set that you can tie in the dark, with cold hands, without thinking.
This guide starts with how knots are grouped and how to pick one, then goes through the ten that do most of the work, then covers practice and the mistakes that cause failures.
Why knots matter in a survival situation #
Cordage is one of the most flexible items in any kit, and knots are what make it flexible. With the right knots you can:
- build or repair a shelter, and secure a tarp against wind
- lash branches into frames, racks and tools
- set snares and traps for small game
- lower people or gear, or haul loads
- splint an injured limb or secure a bandage
- hang gear and food, and make a clothesline
- climb or descend where the terrain demands it
Paracord, short for parachute cord, deserves a mention. It is a nylon rope that was first used in parachutes during World War II, and its strength, light weight and elasticity made it a favorite with survivalists as a general-purpose cord. The outer sheath can also be gutted for the inner strands, which can serve as fishing line, sewing thread or snare wire. A few meters of it in a pocket is a good start for any kit.
How knots are grouped #
Knowing the four main families makes it easier to remember what each knot is for.
- Loops create a fixed or sliding loop at the end of a line. Examples: overhand loop, figure-eight loop, bowline.
- Hitches secure a rope to an object such as a post, ring or tree. Examples: half hitch, clove hitch, taut-line hitch.
- Bends join two ropes. Examples: sheet bend, square knot, double fisherman’s knot.
- Binding knots hold things together tightly, like a bundle or a load. Examples: constrictor knot, reef knot.
Choosing the right one #
Ask three questions before you tie. What is the job: securing a load, joining two lines or making a loop? What material are you using, and how thick, slick or stiff is it? How much load will the knot take? A knot that holds a clothesline will not necessarily hold a person. For a heavy load, choose a knot you trust and know well, and test it before you commit your weight.
Ten knots worth learning #
1. Clove hitch #
The clove hitch secures a line to an upright object such as a pole, post or tree. It is quick to tie and easy to adjust, and it suits any situation where you need a fast, sturdy anchor. It can work loose if the load pulls on it unevenly or the line goes slack, so back it up with a half hitch or a square knot when it matters.
To tie it, pass the line around the pole, cross over the standing part, then wrap around the pole again and tuck the end under the crossing. Pull both ends to tighten.
2. Square knot (reef knot) #
The square knot joins two cords of the same thickness. Do not use it with ropes of different sizes, and do not trust it for critical loads, because it can capsize and slip. It is good for tying bundles, bandages and the ends of a lashing.
To tie it, hold one end in each hand. Cross the right end over the left and tuck it under, then cross the left end (now on the right) over the right and tuck it under. Pull the ends to tighten. If it lies flat and symmetrical, it is correct. If it looks twisted, you have tied a granny knot, which is less secure.
3. Figure-eight knot #
Every survivalist should know this one because it is among the strongest and most reliable stopper knots. It is popular with climbers. Tied at the end of a line, it stops the line from running through a hole, pulley or ring. Tied as a figure-eight follow-through, it makes a strong loop or ties a rope to an anchor.
To tie the basic knot, make a loop in the end of the rope, pass the end around the standing part, and tuck it back through the loop you formed. For the follow-through, tie a loose figure eight, pass the end around your anchor, and retrace the knot with the working end, following the path of the first knot exactly. Pull all the strands tight.
4. Two half hitches #
Two half hitches is an all-purpose knot that ties off a line to a post, ring or tree. It is easy to tie and untie, and it can join two ropes in a pinch.
To tie it, take the end of the rope around the object, pass it around the standing part and tuck it through the loop to make one half hitch. Repeat to make the second, and slide them together against the object.
5. Bowline #
The bowline creates a fixed loop at the end of a line. It does not slip or jam, and it is relatively easy to untie even after it has held a heavy load. It was first devised as a noose for hunting or warfare, and today people use it for tent guy lines, hauling, rescue loops and anything that needs a reliable loop. With enough practice, you can tie it one-handed.
The traditional memory aid is a rabbit story. Make a small loop in the standing part, and that is the rabbit hole. The end of the rope is the rabbit. It comes up out of the hole, goes around behind the tree, which is the standing part, and goes back down the hole. Then pull the standing part and the loop tight. When tied correctly, the working end sits inside the loop.
6. Taut-line hitch #
This knot grips under tension and slides when you move it, so you can adjust the length of a line without retying. That makes it ideal for tent guy lines and tarp lines. It works on the same principle as the prusik: loops of cord that bite onto the line and create enough friction to stay put.
To tie it, pass the end around the anchor and back along the standing part. Wrap it around the standing line two or three times, working toward the anchor. Then make one more turn outside the wraps and tuck the end through. Slide it up or down to adjust tension. Stop it with a half hitch if it creeps.
7. Sheet bend #
The sheet bend joins two ropes of different thickness or material. Make a bight, or a U-shaped loop, in the thicker rope. Pass the end of the thinner rope up through the bight, around both parts of the bight and back under itself. Pull the standing parts to tighten. A double sheet bend, with a second wrap, holds better in slick or very different lines.
8. Slip knot #
A slip knot releases when you pull on the working end, and it holds without slipping while you load it. That makes it useful for temporary attachments and for quick release, such as tying off a boat or setting up a rappel. It is also the basis of many snares. Use it where you want to be able to let go at once.
9. Double fishermans knot #
This bend joins two ropes and is common in climbing and caving. Each rope’s end is wrapped around the other and finished with a double overhand, and then the two knots are pulled together. It resists loosening and slipping when loaded. The knots can be hard to untie after a heavy load, so use it for permanent joins, such as closing a loop of cord for a prusik.
10. Constrictor knot #
The constrictor binds objects together tightly and closes the mouth of a sack or bundle. It grips by friction and is hard to undo once it has been loaded, so cut it if necessary, or tie it with a final turn that can be pulled loose if you expect to remove it. It is a good stopper for the end of a rope to keep it from fraying.
Other knots that earn a place #
Beyond the ten, a few others deserve your time:
- Prusik knot: a friction hitch used on a rope for climbing and rescue. A loop of thinner cord wraps around a larger-diameter rope and grips when loaded, and slides when you release it.
- Trucker’s hitch: a mechanical-advantage knot for tensioning a line. You tie a slip loop in the standing part, pass the working end around the anchor and back through the loop, and pull to gain leverage. Good for tying down a load or tightening a ridgeline.
- Butcher’s knot: a binding knot that can be tied without access to either end of the line. It does not slip when pulled from any direction. It is harder to tie than other binding knots.
- Overhand knot: the simplest of all. A stopper, and the basis of many others.
Paracord users also make decorative and practical items, such as bracelets, lanyards, snake knots and cobra knots, using the same sharp knife and cord.
Practice, and what goes wrong #
You will not remember a knot you have tied twice. Practice until your hands can do it without your eyes.
- Practice regularly. Muscle memory is the goal. Short, frequent sessions beat one long one.
- Practice in bad conditions. Try it wet, cold, in the dark and with gloves on. Survival situations rarely happen in good light.
- Practice one-handed. An injury can leave you with a single working hand. A knot you can tie one-handed is one you can still tie after you are hurt.
- Use decent rope. Cheap cord is hard to handle and may be weaker than it looks. Use rope designed for the job.
- Learn what each knot cannot do. Every knot has limits, and knowing them keeps you out of trouble.
Common mistakes #
- Using the wrong knot for the job. A square knot in two different ropes will slip. A clove hitch with no backup can come undone.
- Not dressing and tightening the knot. A loose, untidy knot is weaker than a neat, tight one. Set it properly before you load it.
- Leaving too much slack. Excess slack weakens the knot and lets it work loose.
- Leaving tails too short, or too long. Short tails can pull through, and long ones snag. Leave enough to be safe and trim the rest.
- Not knowing the knot’s strength. Some knots reduce a rope’s strength considerably. For anything that carries a person, use a knot designed for it, and check it.
A short list to start with #
If you only learn five, make them the bowline, figure-eight, clove hitch, taut-line hitch and sheet bend (or square knot for bundles and bandages). Those cover loops, anchors, adjustment and joining. Add the others over time, and keep a length of paracord with you so you can practice while you wait for a bus.
Related reading: the full survival skills guide; Essential Bushcraft Skills For The Modern Prepper; Advanced Bushcraft Techniques For The Modern Wilderness Explorer.