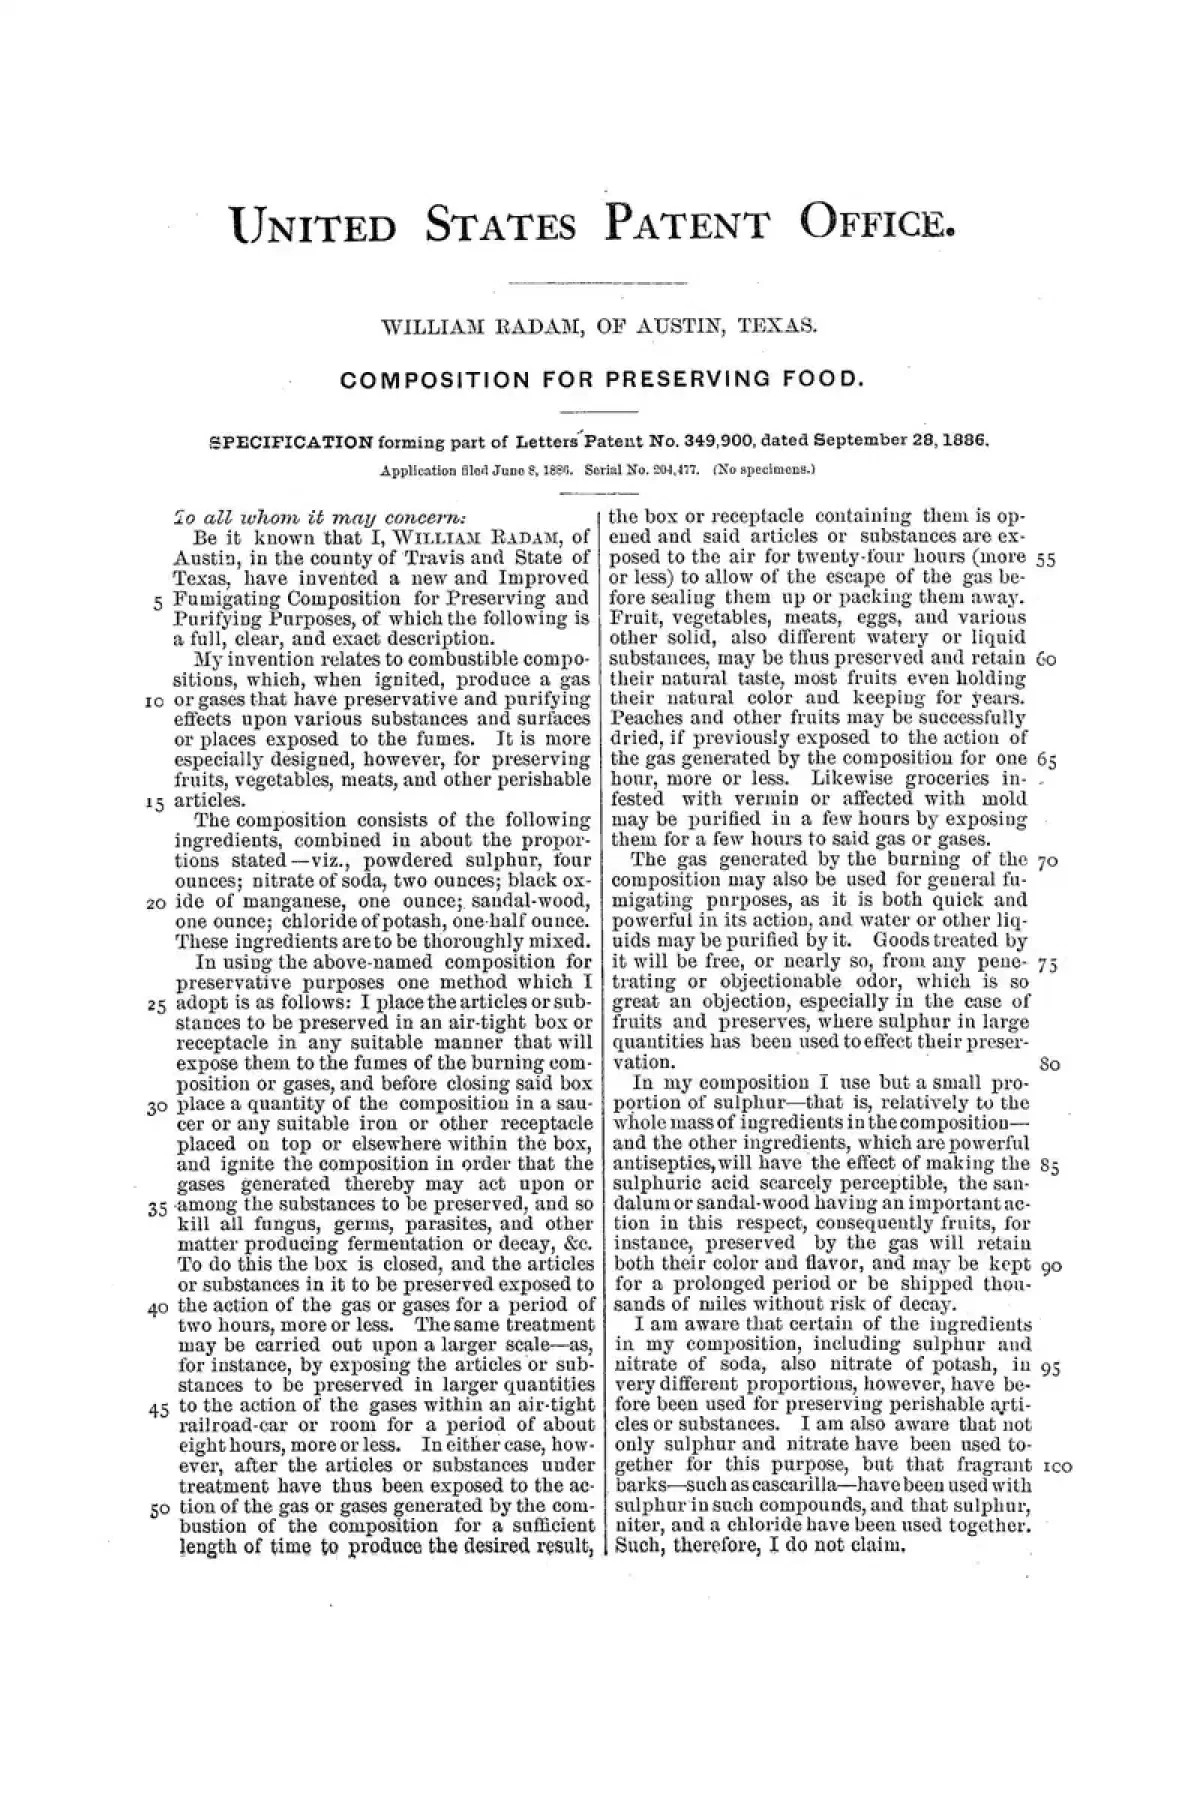
Before electricity, every household preserved food or went hungry in winter. Drying, salting, pickling, smoking and root cellaring kept people fed through harsh seasons and lean years, and none of them needs a plug. They also avoid the chemical preservatives that fill supermarket shelves. If the grid goes down, or you simply want to eat food you understand, these are the methods worth learning.
This guide covers the main techniques in roughly the order you would reach for them, then looks at the harder problem of preserving meat in the field, and finally at where to keep everything once it is done.
How preservation works #
Nearly every method here does one of three things: it removes water, it makes the food too salty, sweet or acidic for microbes, or it fills the food with beneficial bacteria that crowd out the harmful kind. Bacteria need moisture and warmth. The range where they thrive runs from about 40°F to 140°F, and at those temperatures they can double in number in as little as 20 minutes. Once they reach infectious levels you can’t undo it, and eating the result means food poisoning: nausea, vomiting, diarrhea and stomach pain.
That is why the best preparation matters as much as the method. Keep the food clean, keep it cool, and get the moisture out of it.
Drying and dehydrating #
Drying is among the oldest preservation methods there is, dating back centuries before the common era. Removing moisture stops bacteria, yeast and mold from growing, so dried food can sit in storage for a long time. Fruits, vegetables, herbs and meat can all be dried.
Sun-drying #
Sun-drying is the cheapest option and the most natural. Slice apricots, figs or tomatoes and lay them out in the sun. Peppers, eggplant and zucchini work too. Meat can be salted and dried into jerky.
It does demand the right climate: hot, dry, with low humidity and plenty of time. Cover the food with mesh or cloth so insects and dust stay off, and turn the pieces regularly so they dry evenly. If the weather turns damp, the batch is at risk, because moisture is exactly what you are trying to remove.
Dried herbs are the easiest place to start, and dried fruit is a close second. Expect dehydrated food to last about six months at room temperature. Keeping it in the fridge stretches that. Drying also cuts the weight and bulk of food, which is why dried goods dominate camping packing lists.
Salting and curing #
Salt draws moisture out of food, and it was the standard preservative long before refrigeration. Fish such as salmon and cod can be salt-cured, and cucumbers and olives can be brined. To salt-cure, cover the food in a layer of salt and let it sit for the required time. Rinse before you cook or eat, or the result will be far too salty.
A word of caution from the other side. Salting today is mostly done for flavor and texture, as in cured meats, and not out of necessity. Bacteria and mold can survive in a salty environment, so a sloppy cure is a hazard and not a safeguard. Use enough salt, work with clean food, and don’t improvise unless you have the experience.
Sugar works on the same principle, pulling moisture out of fruit while keeping its natural sweetness. Think of it as the sweet cousin of salting: the process is much the same, but the taste is very different.
Dry curing and wet curing #
Curing was among the most popular ways to preserve meat until the late 1800s. You need a good amount of salt either way.
Dry curing means rubbing the meat with salt, sugar and spices, then leaving it somewhere cool, dark and well ventilated for several weeks. Turn it regularly and watch it for signs of spoilage. Prosciutto, bacon and salami are all dry-cured products, and they keep for a long time. In the simplest version you massage table salt into the meat and let it dry; the salt pulls out the moisture and prevents bacterial growth.
Wet curing submerges the meat in brine. It is gentler than dry salt curing because the brine covers and penetrates the whole piece, which makes it harder for bacteria to take hold.
Pickling and fermentation #
Pickling preserves food in either vinegar or salt brine, and it is one of the easiest techniques to try at home. It suits meat, eggs, fruit, vegetables and even seafood. Cucumbers, beets and cabbage are the classics, and cabbage turns into sauerkraut when fermented.
There are two approaches.
- Quick pickling uses vinegar. It is the simpler route, but vinegar is strong enough to ruin the flavor of many foods, so it suits vegetables best.
- Fermentation pickling uses salt brine and encourages lactic acid bacteria. This sounds backwards for a preservation method, since you are growing bacteria on purpose. But the good bacteria take over and crowd out the ones that make you sick. The lactic acid they produce makes the food acidic, which holds off the rest. The method works, but it must be done right.
For a basic home pickle, submerge the food in water, salt and vinegar, or let natural fermentation create the lactic acid. Pack it into sterilized jars and keep it in a cool, dark place for several weeks while the flavor develops.
Smoking #
Smoking preserves and flavors at once. It strips moisture from meat and leaves a protective coating that keeps flies from landing on the meat and laying eggs. It also breaks down connective fibers, so the meat comes out soft. Native Americans who had little access to salt relied heavily on it.
It differs from barbecue smoking, though you can get similar results. A proper preservation smoke takes a long time, sometimes up to 24 hours.
- Hot smoking uses high temperatures and is aimed mostly at flavor.
- Cold smoking is slow, sometimes up to a month, and is aimed at keeping the meat, not seasoning it.
For a simple setup, build a fire from hardwood or fruitwood, let it smolder, and hang the meat in a smokehouse or a homemade smoker built from basic materials. Watch the temperature and smoke levels over several hours. The choice of wood changes the result: pecan gives game meat a strong smoky flavor, while oak is milder and suits smaller game like squirrel or rabbit. If you like to experiment, combine curing and smoking, which also gives you more control over taste, though it takes more resources than sun-drying alone.
Canning #
Canning is the method most people associate with bunkers and shelters, because canned food lasts. It was invented by a French confectioner, which surprises most people. Unlike the other methods here, the food inside is cooked as part of the process.
There are two types:
- Boiling water bath canning suits jams, pickles and fruit.
- Pressure canning suits vegetables and is the one to use for meat.
Canned food needs little preparation when you open it. At most you will want to heat the contents or boil them briefly to deal with any lingering bacteria.
Freezing, when you have power #
If you have electricity, freezing is the easiest method. It effectively halts the degradation of food, and you can freeze cooked meals as well as raw ingredients. Two rules prevent trouble. Remove as much air as possible from the packaging, since poorly sealed food gets freezer burn. And fully cook and cool anything cooked before it goes in, because hot food creates steam inside the package, hurting freshness and speeding up freezer burn. Vegetables lose nutritional value the longer they sit frozen, so freezing suits food you plan to eat in weeks, not food you are saving for a rainy day. It is also the one method on this list that depends on the grid.
garlic, vitamin C and alcohol #
A few kitchen ingredients help at the margins.
Garlic can keep meat fresh for a few extra days and holds back bacteria such as Salmonella and E. coli. It will not rescue contaminated meat, and it is no long-term method like the rest, but it is a useful complement.
Ascorbic acid is just vitamin C. It slows degradation and appears in cured meats, bread and fruit. It is a helpful ingredient and not a preservation process in itself, and it should not be confused with citric acid, which is much more acidic.
Alcohol works like salt and sugar by drawing moisture out. Fruit and vegetables can be submerged in hard liquor such as whisky and will keep a long time, as long as they are fully covered. Using it on meat is more experimental, so treat that with caution.
Preserving meat in the wild #
Meat is the hardest food to keep. A kill that isn’t preserved will spoil within a day or two, and a day or two after that it can turn poisonous. The wilderness version of the problem is the same as at home, only with fewer tools.
Prepare the meat first #
Make sure the meat is clean, chilled and dry. Humidity, warmth and foreign matter create ideal conditions for bacteria. After slaughter, cool the meat by removing internal bones, tendons, ligaments and excess fat. Trimming away fat and connective tissue reduces insulation, so the meat loses its internal warmth faster. Cutting it into thin strips speeds cooling and later drying. Then rinse it with water, which cleans and chills it together. A river or stream is ideal if you are near one.
Tools you need #
- A knife, for butchering and cutting thin strips.
- Clean water for washing off dirt.
- Fire-starting gear, since smoking and heating both depend on it.
- A smoking rack set directly over a small fire. The same frame can hold the finished meat while it cools.
Weather matters too. With little sun or lots of rain, keeping meat dry gets very difficult.
Choosing a method #
Smoking, curing and drying are the three main ways to preserve meat without a refrigerator, and all of them work by removing water.
Sun-drying is the simplest. American Indians and Dutch colonists in Southern Africa both used it, and it produces jerky: thin strips of beef, sun-dried and marinated. Dried meat is lighter and smaller, so it is easy to carry. Slice it thin and keep it in meat bags.
Curing and smoking, covered above, give you more flavor and control but cost more in salt, wood and time. The trade-off is simple. Sun-drying is cheapest and easiest, but only if your climate is consistently warm. A cure-and-smoke combination handles damp weather better.
Pickling meat in an acid such as vinegar or apple cider is possible, but you can ruin the meat if you do it wrong, so it is the method to try last.
Acid preservatives #
Organic acids can be added to meat during processing, and they also form naturally in fermentation. They kill bacteria or make the meat a worse place for them to grow. Citric acid is especially good at inhibiting thermophilic bacteria, which thrive between 105°F and 255°F. It occurs naturally in lemons and oranges, and you can buy it as powder. The source figure is 1.5 oz of citric acid powder per 95 pounds of meat. It also works as a flavoring in curing and smoking.
How long meat keeps depends on its chemistry, namely acidity and moisture, and on protective tissue such as fat or skin, which helps block contamination and dehydration.
Root cellaring #
A root cellar keeps food cool, dark and humid without any power. It stores fruit, vegetables, root crops and canned goods through the year, and it gives you fresh produce in winter.
To build one, pick a site with good drainage and little sun. Dig a hole or build an underground structure from stone, wood or earth. Include ventilation and insulation to hold the temperature and humidity steady. Check stored food regularly and throw out anything showing decay.
Not every house has the space. Other good storage spots include:
- A pantry
- A cool basement corner
- A crawl space
Apples, onions and potatoes do well in these cool, dark, dry places. Meat, dairy and seafood still need more help, so be honest about what a basement can and can’t do. Canning, salting, sugaring and pickling are best done indoors in these spaces, while smoking and sun-drying belong outdoors.
Matching the method to the food #
| Food | Best methods |
|---|---|
| Fruit | Sun-drying, sugaring, canning, alcohol |
| Vegetables | Pickling, fermenting, root cellar, pressure canning |
| Herbs | Drying |
| Meat and fish | Salt-curing, smoking, sun-drying (jerky), pressure canning |
| Eggs, seafood | Pickling |
| Roots and apples | Root cellar |
If you are new to this, start with sun-drying herbs or fruit and a jar of quick-pickled vegetables. Both are forgiving, and both teach the same lesson: dry it, salt it or acidify it, keep it clean, and store it cool. Learn one technique well, then add the next. The skills last, the food costs little, and nothing depends on the power staying on.
Related reading: Food and water guide; best ways to preserve food naturally; preserving meat without refrigeration; building an underground root cellar