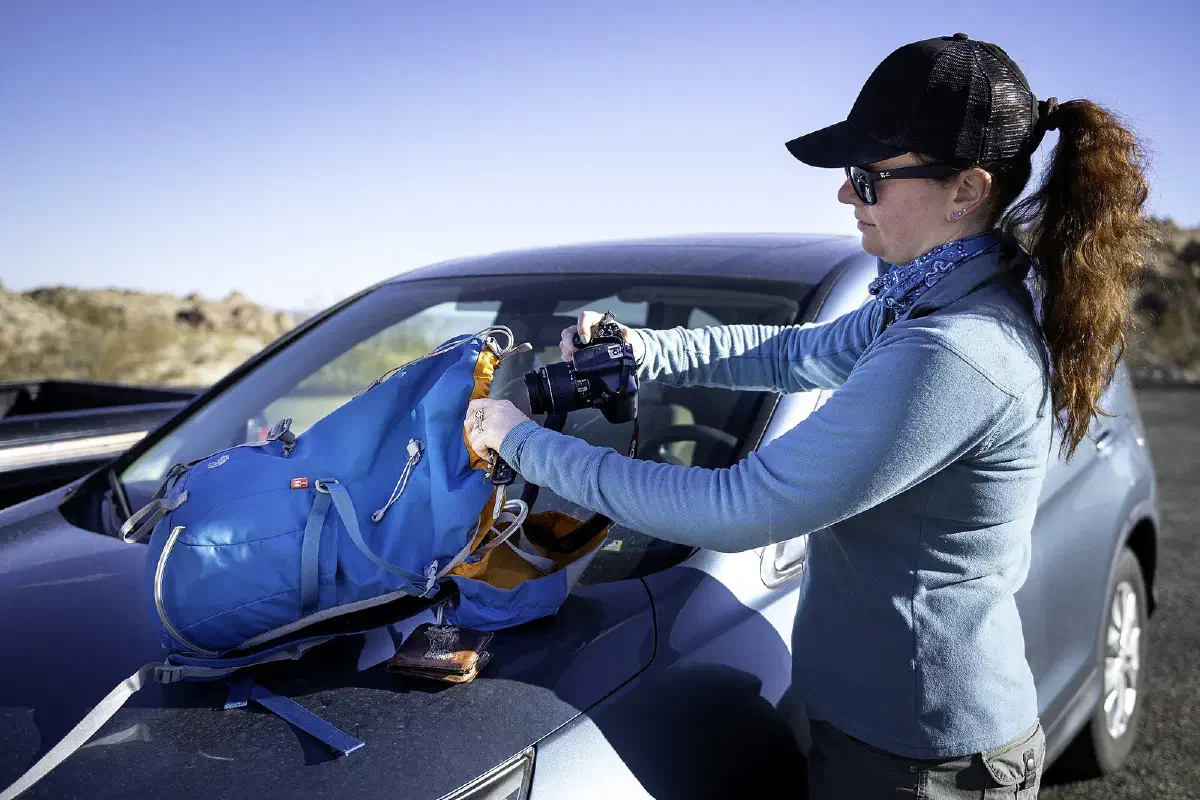
A bug-out bag is a pack you can grab in under a minute when you have to leave home and don’t know when you’ll be back. It is also called a 72-hour kit, a go bag or an emergency kit. Whatever the name, the job is the same: carry enough to cover water, food, warmth, shelter, first aid and navigation for roughly three days while you get to somewhere safer.
Three days is a planning number, not a promise. A well-packed bag can stretch further, but there is a hard limit to what you can carry on your back, and 72 hours is a sensible place to start. Most of the mistakes people make with these bags come from forgetting that limit.
Why you pack it before you need it #
When something goes wrong fast, a house fire, a flood warning, a gas leak or an evacuation order, you won’t have time to wander through the house collecting things. You also won’t think clearly. Anyone who has packed for a vacation has left something essential on the bed. In an emergency, that same mistake costs more.
It’s easy to assume it won’t happen to you. Nobody in New Orleans expected Hurricane Katrina, and nobody in Japan planned for the 2011 earthquake and tsunami. Most people caught in events like that had never thought about being ready. A bag that sits in a closet, already packed, buys you a few percentage points of survival odds, and that is worth the money and the closet space.
Choosing the bag itself #
Before you buy a single item, pick the bag, because the bag decides how much you can bring. A few things matter more than the rest.
Keep it simple. A bug-out bag is not a mobile home. It should hold the bare necessities and nothing that needs batteries or breaks easily. The lighter it is, the faster you move and the farther you get. Plan on about 10 percent of your body weight as the target for a packed bag, and treat 20 percent as the ceiling. Past that, you slow down and start making bad decisions about what to dump.
Size it to three days. For three days of supplies, around 50 liters (about 3,000 cubic inches) is enough. A bigger pack invites you to fill it, and a full big pack is too heavy to carry for any length of time.
Comfort comes first. You will probably walk for hours at a stretch, so load the bag with real weight and walk around in it before you commit. If the straps dig in after twenty minutes, they will be unbearable after six hours. For a deeper look at straps, hip belts, back panels and materials, see our guide on how to choose the right backpack for your bug-out bag.
Build quality. The bag will go through brush, tight gaps and rough ground. Look for reinforced stitching and zippers that glide without snagging. MOLLE webbing (modular lightweight load-carrying equipment) is worth having. It lets you clip pouches to the outside, reach them quickly, detach them to adjust your load, or hand one to someone else to share the weight.
Many compartments. Items you use rarely, like a blanket you’ll only need at night, go in the main compartment. Things you reach for often and that are small, such as water filters, fire starters and a light, belong in side pockets where you can find them without unpacking everything.
A quiet color. Bright colors look good in the store and bad in a crisis. If the emergency involves other people, you may need to move without being seen, and desperate neighbors can become a threat. Camouflage, olive, tan or gray are better choices than anything that stands out from a distance.
The seven categories of gear #
Once you have a bag, fill it by category rather than by whatever is on sale. These seven cover the essentials.
1. Water #
You can survive without most gear but not without water. The bare minimum is about one liter per person per day, so at least three liters for three days, and more if you’ll be working hard or the weather is hot. Collapsible bottles save space when they’re empty. Carrying purification as well, iodine tablets, a pot for boiling or a proper filter, lets you carry less and refill along the way. A coffee filter over the intake of a filtration system is a cheap trick that extends the life of the filter. We cover quantities, container choices and desert conditions in detail in how much water to carry in a bug-out bag.
2. Food #
After water, food keeps you moving. Freeze-dried backpacking meals are light and only need boiling water. Energy bars cover the times you have no chance to cook. Dried fruit and nuts, as one of the modular kits suggests, add calories at little weight. If you pack meals that need water and heat, pack a small pot and a stove with them, or the food is dead weight.
3. Clothing #
There is no universal clothing list, because the right answer depends on where you live and what the season is. Winter garments make no sense in a 100-degree summer. Pack for the weather you are likely to face: two pairs of socks (not cotton), a short-sleeved and a long-sleeved shirt for layering, a jacket that works as both rain shell and insulation, a hat, gloves, a bandana, and sturdy boots or shoes you’ve already broken in. Long pants round out the kit.
4. First aid #
You cannot predict when a cut will turn into a bleeding emergency. Commercial first aid kits vary in size and quality and can be expensive for what is in them, so many people build their own. A workable homemade kit holds sterile gauze dressings, bandages, disposable gloves, cleansing wipes, adhesive tape, antiseptic, pain relievers, any prescription medication you depend on, scissors, tweezers and a thermometer.
5. Shelter #
Three days outdoors can expose you to cold, heat and rain. A backpacking tent is ideal but may not fit in a small bag. Space blankets weigh almost nothing, but they’re single-use, so three days means three blankets. A tarp is a good compromise because it can also catch rainwater. Whatever you choose, it has to keep water out and be big enough for your body. A sleeping bag or ground mat helps if you have the room.
6. Tools and fire #
Fire-starting materials, a survival knife, a multi-tool, duct tape, paracord, a whistle and a light source all sit in this category. A folding shovel earns its weight if you expect to dig. Give each item a job and avoid carrying two that do the same thing.
7. Communication, documents and hygiene #
A phone with a battery pack is the obvious start, with a small emergency radio as a backup that doesn’t depend on cell towers. Keep copies of identification, insurance information, medical details and an emergency contact list in a waterproof container. For hygiene, a toothbrush, small toothpaste, hand sanitizer, wet wipes and toilet paper cover most of what you need and help prevent the illnesses that follow poor sanitation.
A word on self-defense #
Some people include a weapon, and others don’t. Security can become a concern when order breaks down, and the ability to defend yourself is part of the survival mindset. Whether that means a firearm, a good fixed-blade knife or neither is a personal and legal decision. Make it deliberately, and learn to use whatever you carry.
Organize by module #
Instead of one pile of gear, think in modules. Group everything into pouches or stuff sacks by function: shelter, food, water, first aid, tools, clothing, communication, documents and hygiene.
This approach has three real benefits. It’s easy to find what you need, because you reach for the “first aid” pouch rather than digging. It’s easy to customize, since you can swap the clothing module for winter or add a baby module for a family. And it’s easy to maintain, because once or twice a year you check one module at a time and replace what has expired or worn out. Modules also split the load. You can hand a pouch to a partner, and with MOLLE you can clip it on or off in seconds.
Packing techniques that save space #
Efficient packing is mostly about weight, access and compression.
- Roll clothes rather than folding them. They take less room and are easier to pull out one at a time.
- Compress bulky items like a sleeping bag or spare clothing in vacuum-sealed or compression bags.
- Heavy items go close to your spine and in the middle of the pack, so the load rides near your center of gravity.
- Things you need quickly go on top or outside: rain jacket, headlamp, water, snacks.
- Choose multi-purpose gear. A multi-tool replaces several single-use tools. A tarp is shelter, groundsheet and rain catcher.
- Pick compact versions of the essentials: a compact sleeping bag, a portable water filter, a small stove.
Resist the temptation to pack for scavenging or for rare events. If you won’t use it in the first three days, leave it out.
Customize it for your situation #
No two bags should be the same. Your climate, your medical needs and the number of people you’re packing for all change the list. An urban dweller might carry more cash, a map of subway and bridge alternatives, and a dust mask. A rural family might prioritize extra water capacity, weather protection and a vehicle kit. If you’re packing for children or elderly relatives, add their medications, a comfort item and extra clothes.
Maintain it and practice with it #
A bag you packed three years ago is a liability. Set a reminder every six months to:
- Check expiration dates on food, water and medication, and swap anything close to expiring.
- Replace worn or damaged items and dead batteries.
- Update clothing for the season and for growing children.
- Adjust the contents if your needs or your circumstances have changed.
Then use the gear. Pitch the shelter in the backyard. Boil water on the stove. Walk five miles with the pack on. Practicing shows you the gaps in your kit and in your own skills far better than reading a list. It also makes you faster and calmer when the real thing arrives.
Finally, keep the bag in a place you can reach without moving anything else, such as a hall closet near the door, and make sure everyone in the house knows where it is. This guide is one part of our survival skills coverage, which goes on to getting out the door and deciding where to go.