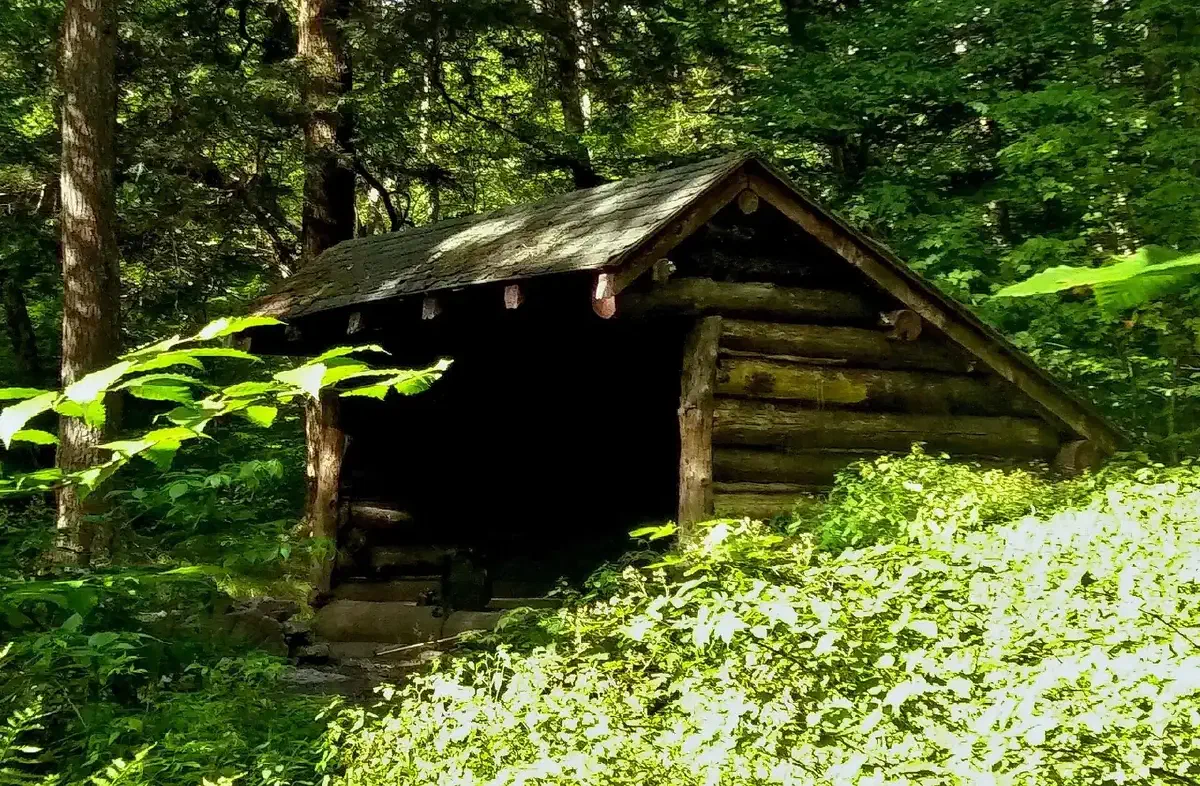
A shelter is usually the first thing that decides whether a bad night stays a bad night. Rain, wind, snow and sun all take heat or water out of your body faster than most people expect, and hypothermia and heat exhaustion are the two ways an unplanned night outdoors goes wrong. A shelter doesn’t need to be comfortable. It needs to keep weather off you, hold in body heat (or keep the sun off), and keep you separated from the ground.
This guide covers the decisions that apply anywhere, the materials worth carrying or finding, three basic designs, and then how the plan changes in forest, desert, mountain and snow country.
Pick the site before you pick the design #
Most shelter failures are site failures. Look for ground that is flat, dry and well drained. You want water within reach but not right beside you: close enough to walk to, far enough that a flash flood or rising stream won’t reach your bed. Avoid low spots where runoff collects, and look up before you commit. A dead branch hanging over your roof line is a bad neighbor in wind.
Then think about time. Build before dark. Working with a failing light and cold hands leads to poor lashings and a roof that leaks, and the injuries that happen in camp, like a cut or a strained back from dragging logs, are the ones that turn a nuisance into an emergency.
Materials: keep it simple #
You’ll build with what is around you plus whatever little you carry. A short kit goes a long way:
- A tarp or any waterproof sheet. It is the fastest roof you can make and it keeps a debris hut from soaking through. Pick something durable enough for harsh weather.
- Rope or paracord. It secures the frame and holds the covering down. Carry more than you think you need.
- Branches and leaves for framing and cover. Fallen limbs are better than cutting live ones; they are dry-ish, free, and leave less mark on the area.
- Rocks or other heavy objects to anchor edges against wind.
- Insulating material, such as pine needles, straw, dry leaves or ferns. This goes under you as much as over you, because the cold ground pulls heat out of a sleeping body faster than cold air does.
Three designs that work almost anywhere #
Lean-to #
The lean-to is the simplest effective design. Prop long branches against a support such as a tree or a rock to make a sloping roof, then cover the slope with leaves, branches or your tarp. Point the open side away from the wind. It sheds rain, but it is open on one side, so it needs a reflective fire or extra insulation in cold weather.
A-frame #
An A-frame uses two supporting structures, shaped like the letter, with a ridge between them. Covered with leaves, branches or a tarp, it gives more protection from wind and rain than a lean-to because both sides are closed in.
Debris hut #
A debris hut takes the most time and gives the best insulation. Build a framework of branches or sticks, small enough that your body heat can warm the inside, and pile leaves, grass or any other insulating material over it. In extreme weather the extra work pays off. Make the pile thick. A thin debris hut is just a pile of leaves with a person in it.
Forest #
Forests give you everything you need to build, so the work is mostly about doing it in the right order.
- Select a location. Choose a spot with enough space, near water but away from falling-branch and flash-flood hazards.
- Gather materials. Collect branches, leaves and foliage. Fallen limbs reduce your impact on the area.
- Build the frame. Use sturdy branches and make it tall enough that you can sit upright inside. Lean branches against a tree or build a triangle frame for support.
- Insulate. Layer leaves, ferns or pine needles over the frame, and put a thick layer of leaves on the ground inside.
- Cover the roof. Add more branches and foliage so the roof sheds rain and snow. If water can seep through, it isn’t thick enough.
- Secure it. Vines, rope or twine keep the frame from shifting in strong wind. Add more foliage for insulation and camouflage.
Desert #
In the desert you’re protected from neither the sun by day nor the cold at night, and dehydration is the real clock. The aim is shade, insulation from the ground, and airflow.
- Find shade first. Rock formations or vegetation can protect you from the sun’s heat. Avoid low-lying areas that may flood during rain.
- Use what you have. Rocks, sandbags and light-colored fabric reflect sunlight and give shade. Weight the edges of the fabric with rocks.
- Build a frame. Stretch the fabric taut between two sturdy objects or poles so it makes a roof and survives strong wind.
- Insulate the floor. Cover the ground inside with sand or fabric as a barrier against the hot desert surface.
- Ventilate. Leave openings so heat doesn’t build up inside.
- Secure it. Ropes, pegs or rocks keep the fabric from blowing away in desert wind. Reinforce the edges.
Prioritize shade, insulation and ventilation, in that order.
Mountain #
Mountains add high wind, wide temperature swings and rugged ground. A shelter here has to stand up to weather, not just exist.
- Find a windbreak. A rocky outcrop, tree line or boulders will take the worst of the wind. Position your shelter behind it.
- Use durable materials. Rocks, snow, logs and branches. Use large rocks as anchors.
- Build a wall. A low barrier of rocks or snow blocks shields the shelter from cold wind and blowing snow. Leave openings for ventilation and access.
- Make a roof. Large branches, logs or snow blocks, sloping away from the wind so snow sheds. It should be thick enough to insulate.
- Fill the gaps. Snow, leaves or clothing stuffed into gaps between rocks or branches blocks drafts. Put a thick layer of leaves or pine needles on the floor.
- Secure and test. Ropes, cords or snow anchors keep it from collapsing in wind or an avalanche. Test the stability before you settle in for the night.
Stability, insulation and wind protection come first.
Snow-covered terrain #
Snow is a good insulator, which is why a snow shelter works at all. The danger is freezing temperatures, drifting and poor visibility.
- Dig a snow cave. Dig into a bank or drift. Slope the entrance tunnel downward so cold air stays out of the sleeping area.
- Add a vent. Make a vent hole in the roof so fresh air circulates, and keep it clear of snow and debris so you don’t suffocate.
- Insulate. Line the inside with pine boughs, branches or a sleeping pad. Insulate the floor as well as the walls and roof to trap body heat.
- Close the entrance. Snow blocks or fabric seal off the opening. A small door that opens and closes lets you ventilate.
- Build snow walls. Low walls around the entrance block wind and blowing snow.
- Secure and test. Snow anchors, ropes or stakes help, and you should check the stability of the cave before sleeping in it.
If there’s no depth for a cave, a smaller improvised snow shelter made by digging and stacking snow in layers works on the same principle: the more layers, the better the insulation.
Keeping the shelter working #
Once it’s built, check it. Inspect for damage or wear after the first night and replace anything torn. Reinforce weak spots such as loose branches or gaps in the insulation before they fail. Keep debris and hazards cleared from around the shelter. And keep a small opening or vents so condensation and mold don’t build up.
Safety around your shelter #
- Fire. If you build a fire for warmth or cooking, keep it contained and away from the shelter so a spark doesn’t take your roof.
- Wildlife. Store food away from where you sleep, and avoid strong scents that attract animals.
- Water. Keep a source near the shelter and drink through the day. Dehydration is a serious threat in survival situations.
- Surroundings. Know your hazards: flash floods, falling trees, steep cliffs. Choose a spot that is secure, not just convenient.
Practice before you need it #
None of this is hard in the abstract, and all of it is slower than you think the first time. Build a lean-to in your backyard or a local campground. Time it. Sleep in it once. The first night will tell you things no article will: where the rain got in, how cold the floor is, how much more insulation you needed. Do it in more than one kind of terrain if you can, and you’ll carry the right expectations into a real emergency.
Related reading: the full survival skills guide.