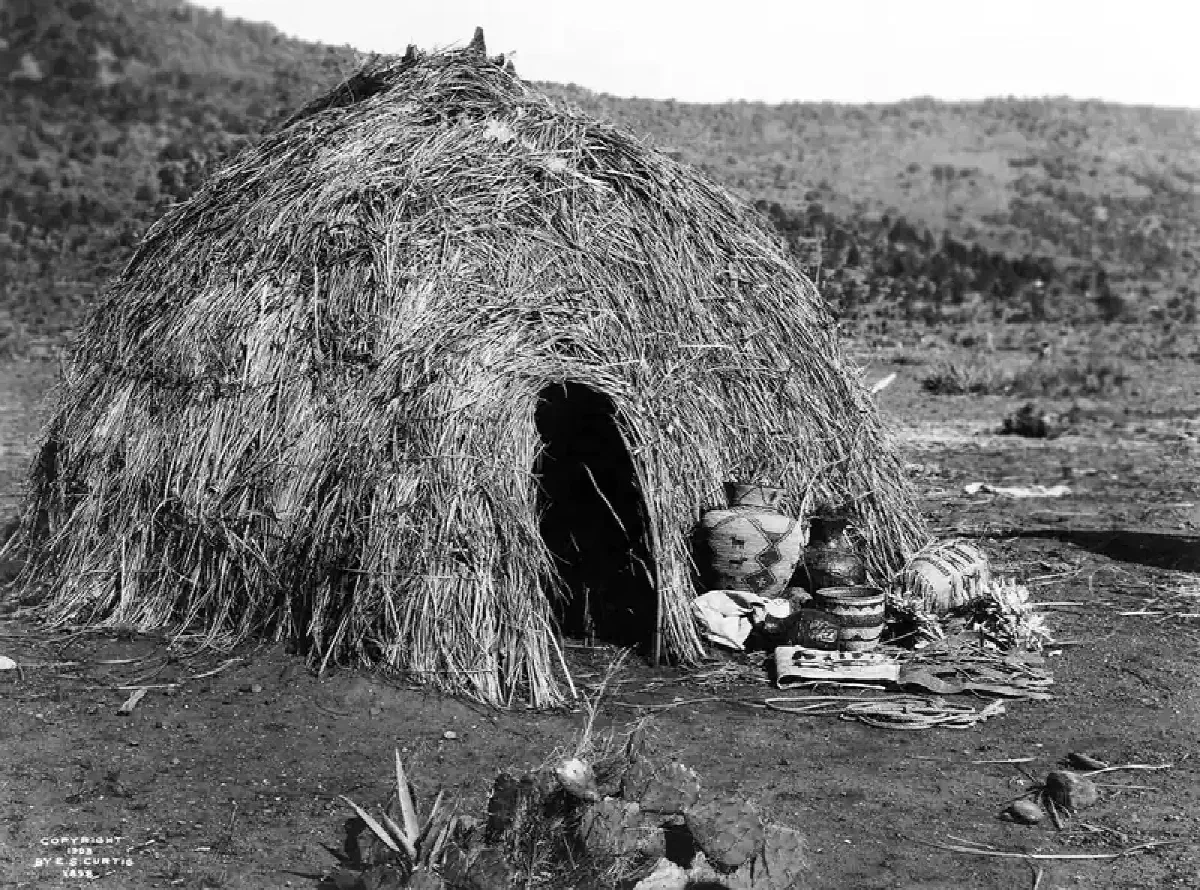
In a survival situation you will probably need a shelter against rough weather, and you will have limited resources and little or no tooling to build it. Failing to put up a stable shelter can be fatal. The good news is that there are many designs you can build with what the landscape gives you: branches, leaves, vines, bark, rocks, and in winter, snow.
This guide covers the decisions that come before you build, the basic materials, seven designs that need no tools, and ways to improve insulation and waterproofing. It also covers what to do when nature supplies too little and you have to use found objects.
Decide what the shelter has to do #
Before picking a design, answer a few questions. The answers shape the size, the type and the materials.
- How many people will use it?
- Will you need a fire to fight off the cold?
- Do you need camouflage because of a wild animal threat?
- Is it for a short stay only?
- Do you need protection from high winds?
Then look at what is within reach. In the wild you need to conserve energy, so go for materials that are easy to collect and use with little modification. A design that needs fifty perfect poles is a bad choice if the nearest woodland has only deadfall.
Pick the location #
Location can matter more than design. Ideally the site is flat and away from water, to reduce the risk of flooding. It should be dry and free from the risk of falling rocks or tree branches, and you should check for unstable trees overhead. Natural barriers such as boulders and dense vegetation add protection from the elements.
Visibility is a trade-off. If you want to be found, choose somewhere visible to rescuers or passersby, but not so exposed that it puts you at risk. If you need to stay hidden, choose cover. A water source nearby helps with drinking and other needs, though not at the cost of flood risk. In freezing weather, leave space inside or in front of the shelter for a fire.
Those are best-case conditions, and real sites rarely meet all of them. Put safety first. If you have to build on a slope, dig trenches to divert water in case of rain.
Gather materials #
The beauty of building with natural materials is that most of what you need is lying around.
- Branches of varying sizes make the frame and give it structural support.
- Leaves, pine needles and other foliage form a waterproof, insulating layer.
- Vines or rope lash the frame together.
- Rocks anchor the shelter and keep it stable in wind.
- Cordage, if you have it, makes several designs far more stable.
Seven designs that need no tools #
Lean-to #
The lean-to is quick to build and works with many materials, which is why it is often the first shelter people learn. Depending on location, it can be roomy enough to fit a sleeping bag comfortably.
- Collect branches and sticks of roughly the same size.
- Find a spot with two trees, ideally with a V-shape between them.
- Wedge a long, strong pole between the trees for support.
- Lean the branches and sticks against the pole to make a one-sided roof.
- Thatch the roof with dry leaves and pine needles, and anchor the corners with rocks or logs.
If you cannot find two stout trees, you can lean branches against a thick stump or a single tree for a simple, primitive version.
A lean-to is not a good insulator. It has half a roof and no other walls, so you need space for a fire. The single-sided design does work as a reflector for the heat of the fire and keeps the cold away. Avoid it where the wind frequently changes direction, because then it provides little cover.
Tipi #
A tipi is long sticks or poles balanced against each other, with a space for an entrance on one side. It is simple to build and can house large groups, with moderate protection. The downside is that its steep roof and walls are unstable against strong wind or rain.
Collect three long branches and lay them against each other on the ground for a tripod frame. If you have no rope to tie the poles, lean them on a tree or use branches with forked ends that interlock at the top. Add more branches of similar length to strengthen the structure, leaving space for the doorway. Fill gaps with leafy branches or birch bark for insulation. If you use brush on the outside, add more sticks to keep it from blowing away. With a large tarp, you can wrap the poles for a hybrid shelter with better protection.
Tarp shelter #
A tarp is the quickest option and suits large groups, but gives little protection from rain and wind in the woods. All you need is cordage and a good location. Tie both ends to trees and put a sleeping bag under the roof. For walls, tie a rope between two trees, pull the tarp over it, and use a stick on each side to hold the tarp in place. For something sturdier, cover a tipi frame with the tarp on all sides and leave one end open for the entrance.
Round lodge #
The round lodge is a hybrid of different building traditions. It is a cross between a tipi and a wickiup, with a solid entrance and a smoke hole in the roof, so you can light a fire inside. It protects against cold, rain, wind and sun, which makes it a good choice even in wetter climates. It needs cordage or rope, as it is not stable without it.
Build a tripod frame from three sturdy branches. Tie three smaller branches as cross beams about two-thirds of the way up the main frame. Lean deadfall and long sticks around the base and cover them with brush, dry leaves and other vegetation for insulation. Keep the smoke hole open for ventilation.
Quinzhee #
When snow is your main building resource, build a quinzhee. It is easier than an igloo. Use your backpack or another piece of movable gear as a form and pile snow over it. Pack the snow to about two feet thick on all sides, and push long sticks of similar length into the base of the structure. Dig an entrance, take out the gear, and keep digging from the inside until you feel the sticks. Those mark the wall thickness. Then make a vent hole at the top.
Debris hut #
This is one of the best natural-material shelters for insulation.
- Lean branches against a central support to make the frame.
- Layer branches and leaves over it, starting at the bottom and working up.
- Keep adding layers of debris until the shelter is covered and insulated.
- Leave a small opening at one end for ventilation and entry.
- Secure it with extra branches or rocks so it does not collapse.
Fallen tree branch shelter #
A fallen tree is a ready-made frame. Drape a tarp over a branch, or lean debris on one side to build a version of the lean-to. Use leaves, bark and brush for insulation. It adapts to many situations, provides good protection and takes little time. The one downside is that a rotting tree is likely to have insects in it.
Insulation and waterproofing #
A shelter that blocks wind but leaks heat is only half done. Heat escapes through the floor as much as through the walls.
- Pile leaves and foliage thickly on the roof and walls to trap heat.
- Build a raised platform of larger branches or logs to insulate from the cold ground.
- Use a thick layer of leaves or pine needles on the roof as a waterproof barrier.
- Dig a shallow trench around the shelter to divert rainwater and prevent flooding inside.
When nature gives you too little #
Sometimes there is not enough material to build with, such as in open country or after a disaster. Then improvise with found objects. Tarpaulins, plastic sheeting and even clothing can make a temporary shelter.
- Use discarded plastic sheeting or tarps as a quick cover.
- Anchor the edges with rocks, logs or other heavy objects to stop it blowing away.
- Fill holes and gaps with leaves, branches or clothing for insulation and waterproofing.
Practice before you need it #
Knowing several shelter designs, and what each is good for, is a skill that always comes in handy. Build a few in good weather. You will learn how long each takes, which materials work in your region, and where your own mistakes are, and none of that costs you anything when it is done in daylight with time to spare.
Related reading: the full survival skills guide; How to build an emergency shelter in forest, desert, mountain and snow.