A dead phone, a cracked compass or a battery that gave out on day two does not have to mean you are lost. People found their way across continents and oceans for thousands of years before anyone put a satellite in orbit, and the methods they used still work. Most of them rest on the same few ideas: know where you started, keep track of how far and in what direction you have moved, and read the land and sky for clues that confirm it.
This guide covers the main traditional techniques, starting with the sky, then the land, then the habits that tie them together.
Start with the sky #
The sun and a shadow stick #
The sun gives you a rough east-west line any clear day. It rises in the east and sets in the west, in both hemispheres, though not exactly due east and due west except near the equinoxes. In the northern hemisphere it sits to your south at midday, and in the southern hemisphere it sits to your north.
A shadow stick gives you a more precise line, and you can make one in minutes:
- Push a straight stick upright into level ground in a spot that will stay in sun.
- Mark the tip of its shadow with a small stone.
- Wait 15 to 30 minutes, then mark the new tip of the shadow with a second stone.
- Draw a line through the two stones. It runs roughly east to west. The first mark is on the west side, because the shadow moves toward the east as the sun climbs and then crosses the sky.
Stand with your left foot on the first mark and your right foot on the second, and you are facing roughly north. The longer you wait between marks, the more accurate the line.
The North Star and the constellations #
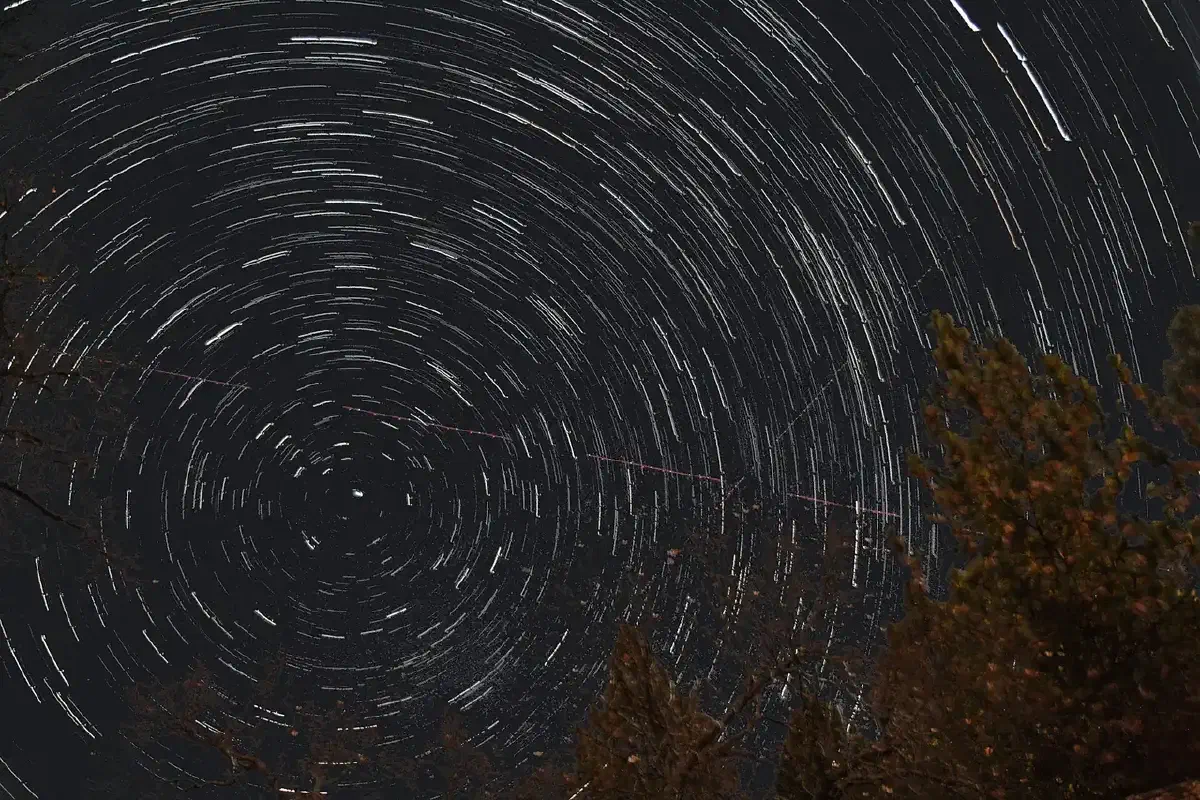
At night the stars do the same job. Polaris, the North Star, sits almost directly above the North Pole. Every other star appears to rotate around it while it stays put, so the point on the horizon directly below it marks true north. That makes it one of the most useful single objects in the sky for travel, and it lets you keep a steady direction over long distances.
To find it, locate the Big Dipper and follow the two stars at the end of its bowl up to Polaris. In the southern hemisphere, where Polaris cannot be seen, the Southern Cross serves as a signpost, and Orion is visible from both hemispheres and helps you orient yourself. Learn at least two of these constellations while you can see them clearly, not for the first time in the dark when you need them.
The moon and the stars as a clock #
The stars and moon also tell time. Watching the position of key constellations and the moon lets you estimate how far into the night you are, which helps you plan when to move and when to wait for light. The moon’s phase and position change through the month, so treat it as a secondary aid and use it alongside a star or a landmark you trust.
Read the land #
Maps and contour lines #
If you have a topographic map but no compass, you still have a lot to work with. Topographic maps show elevation and terrain: hills, valleys, rivers and forests. Contour lines connect points of equal elevation. Lines packed close together mean a steep slope, and lines spaced far apart mean flatter ground. Reading them lets you see ridges, drainages and saddles before you walk into them, and match what you see on the ground to what is printed.
Landmarks and natural features #
Mountains, rivers and rock formations are the most obvious reference points. The shape and orientation of a peak can tell you roughly where you are, and mountain ranges act as barriers you can use to steer around obstacles. A distinctive peak you can see from several places is worth noting in your head and on your map.
Signs of civilization count too. A road, power line or building gives you a bearing and a destination, and it is often the quickest route to help.
Water #
Water runs downhill, and settlements tend to sit along waterways, so following a stream or river often leads toward people. It also keeps you near drinking water. Be aware that rivers can take you through brush, steep gorges or swampy ground, so weigh the route before you commit to it.
Weather as a clue #
Wind direction, cloud formations and darkening skies tell you what weather is coming and sometimes which way it is moving. If clouds darken and the wind shifts, you may need shelter before you can keep traveling. Navigation decisions that ignore the weather get people into trouble.
Techniques that keep you on course #
Dead reckoning #
Dead reckoning means estimating where you are from your last known position, your direction of travel and your speed. The more carefully you track those three things, the better the estimate. In practice that means noting the time you left a known point, your direction, and how long and how fast you moved. Update your estimate regularly and check it against landmarks as you pass them. Errors add up, so a position you worked out four hours ago is not one you can rely on without checking.
If you have no compass, pick a distant landmark in your direction of travel and walk toward it, then pick the next one. Looking back occasionally to confirm you are going in a line helps.
Terrain association #
Terrain association is the habit of comparing the ground in front of you to the map in your head or in your pack. Hills, valleys, ridges and rivers on the map should match what you can see. If something does not match, stop and work out why before you go on. Vegetation, rock type and the slope of the land all feed into this, and the more you notice, the sooner you spot an error.
Handrails and catching features #
Two ideas from orienteering are useful anywhere. A handrail is a linear feature, such as a trail, river or ridgeline, that you can follow to guide your route. A catching feature is a prominent landmark beyond your target that tells you you have gone too far. Between them, you travel along something you can trust and know when to turn around.
Attack points #
When your destination is small, aim first for a larger feature nearby that is easy to find, then make a short, careful approach from there. That is an attack point, and it reduces the chance of missing the target.
Practice before you need it #
Skills like these fade without practice, and the first time you try them should not be the time you are lost. Set up your own course in a local park or wooded area and try to find specific points using only a map and your observation. Orienteering began as a sport in Scandinavia in the late 19th century, and clubs still run events at every level, from beginner courses to advanced challenges. Joining one is a good way to test yourself against other navigators and get feedback.
When you do end up disoriented, stop first. Wait until you have thought through your last known position and what you can see. Use the sun by day and the stars by night, find a handrail, and travel in daylight if you can. Stay calm. Panic makes you walk in circles, and a clear plan beats speed.
What to take from this #
No single technique is enough on its own. The sun gives you a rough direction, a stick sharpens it, the stars take over at night, and the landscape confirms what you think. Dead reckoning, handrails and attack points keep you honest between landmarks. Learn a few of them well, practice them in familiar country, and you will have something to fall back on when the electronics fail.
Related reading: the full survival skills guide; Map and Compass Land Navigation; Advanced Navigation Techniques Without GPS Technology.