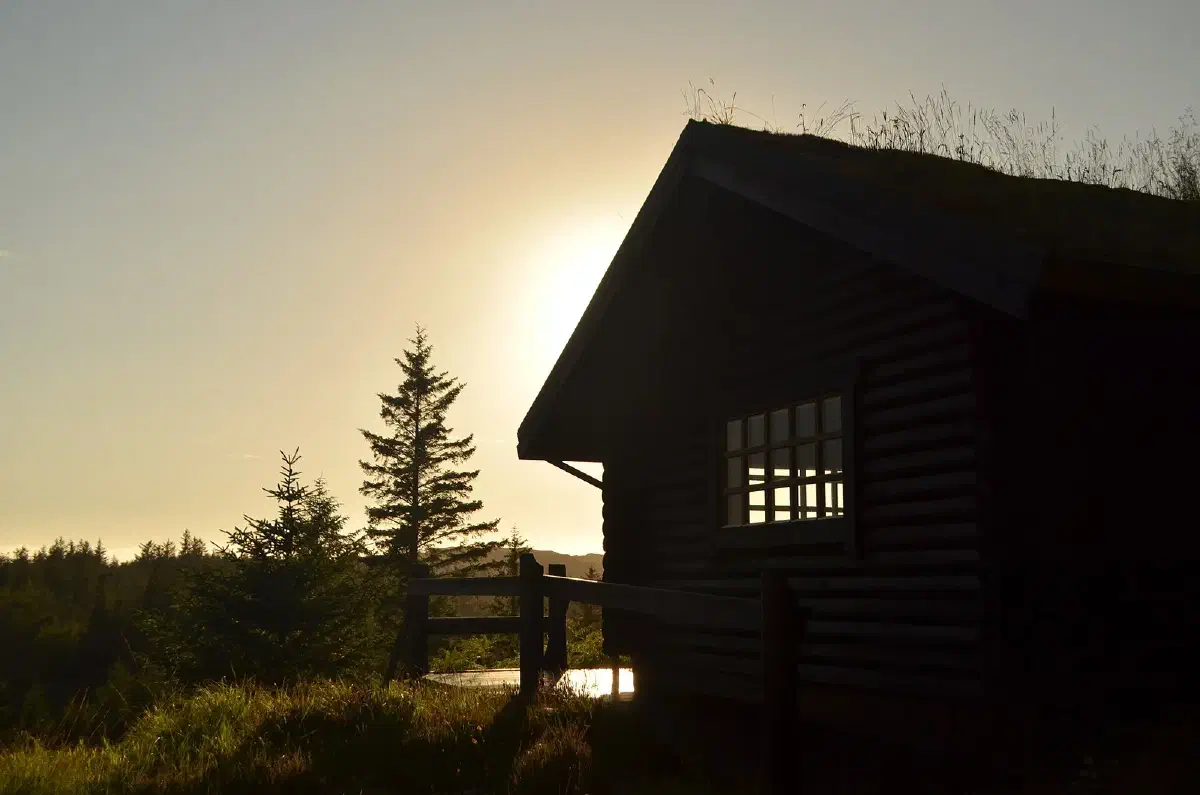
A bug-out location is a predetermined place where you and your family can go when staying home is no longer safe. To be worth the trip, it has to supply shelter, food and water for an extended period, and it should do so without drawing attention. Those two goals, self-sufficiency and low visibility, are what separate a real retreat from a cabin with a nice view.
This guide works through the decisions in the order you’ll face them: where to put it, how to reach it, how to supply it, how to hide and secure it, and how to keep it working when you’re not there.
Pick the site first #
Everything else follows from the location, and mistakes here are expensive to fix.
Go remote, but not too remote. A site away from major cities and towns reduces the chance that the same disaster hits you there. At the same time, you have to be able to get to it, and it must be near the things you can’t carry: water, and ideally land you can farm.
Stay out of sight. For a stealthy retreat, look for a secluded spot in a natural setting such as dense forest or remote mountainous terrain. A good rule of thumb is at least a mile from any major road or hiking trail, so people don’t stumble across it. Use natural features like rock formations and thick foliage as extra concealment. Check the prevailing wind, too. Smoke and cooking smells carry, and a site downwind of a trail or road gives itself away.
Think about accessibility. You should be able to reach the location on foot, by bicycle or in an off-road vehicle, and you should plan more than one route. If the main road is blocked or unsafe, an alternative path decides whether you arrive at all. Walk or drive each route in advance and record landmarks.
Weigh the risks of the site itself. Floods, landslides and wildfire can destroy a retreat as easily as they can a house. Choose ground that won’t be compromised by the disasters you’re planning around.
Own it, lease it, or borrow it #
A retreat does not have to mean buying land. Buying gives you the freedom to build, plant and fence. Leasing or an agreement with a relative or friend lowers the cost, but limits what you can change, so find out up front what the owner will allow. Check local rules before you build anything. Zoning, building permits, well and septic regulations and rules on camping or long-term occupancy differ from place to place, and a structure that breaks them can be removed or fined. Put the arrangement in writing, even with family.
Whichever route you take, visit the site in more than one season. A dry creek in August can be a flood channel in April, and a pleasant clearing in summer can be a wind tunnel in winter. Talk to neighbors and local landowners about what the ground does in bad weather. It costs nothing and tells you things no map will.
Water #
A reliable water source is the single most important feature of the site. Options include:
- A rainwater collection system with a filter
- A dug well
- A nearby stream or river you can draw from and treat
Don’t depend on one source. If the primary becomes contaminated or runs dry, you need a backup, whether it’s a second collection system, stored water, or a good filter and the ability to find another stream. Install filtration at the retreat itself so that you’re never carrying everything in.
Shelter #
The structure must protect you from weather and from other people. A cabin, bunker or yurt can all work, provided it is well insulated and can handle extreme weather in your region. Keep building materials and tools on site so you can repair damage and make improvements without a trip to town.
To keep the shelter hidden, make it blend into the land:
- Build with natural materials such as branches, leaves and rocks where practical.
- Paint exposed surfaces in greens, browns and grays that match the surrounding terrain.
- Plant native vegetation around the structure to break up its outline and form a natural barrier.
Food #
For long stays, stockpile non-perishable food: canned goods, dried beans, rice and emergency rations with a long shelf life. A stockpile only buys time, though. To be self-sufficient, plan to produce food.
- Plant fruit and vegetable crops suited to your climate and soil.
- Raise chickens, goats or rabbits for eggs, milk and meat. Rabbits and chickens need less space than larger animals.
- Hunt and fish in the surrounding area if it supports it.
- Preserve surplus by canning, drying and fermenting so that you have food for leaner months.
Permaculture and organic gardening techniques help you grow a diverse range of crops that don’t depend on purchased inputs. Start small, and learn what grows at the site before you rely on it.
Power, waste and sustainability #
An off-grid site has to handle energy and waste without outside services.
- Energy: solar panels or small wind turbines supply electricity for lights, radios and tools. Pair them with batteries.
- Water use: conserve what you collect. Greywater systems reuse wash water for the garden.
- Waste: a composting toilet reduces water use and pollution, and a waste disposal system keeps the site clean and avoids attracting pests.
Plan for the long term. The more the site produces for itself, the longer you can stay.
Security #
A hidden site is the first layer of security, but not the only one. Add layers:
- Perimeter. Fences, locks and natural barriers such as thorny bushes discourage intruders and animals.
- Detection. Motion-sensor lights and cameras monitor the perimeter, though they also draw attention, so place them with care and consider whether you want lights at all.
- Information security. Don’t advertise the location. Limit who knows where it is, and use secure communication methods so you don’t expose it digitally.
- Community. A group of like-minded people provides mutual support and protection that no fence can. Reach out to neighbors, friends or local prepper groups, and share resources and information before there’s a crisis.
Emergency planning on site #
Even a well-planned retreat meets emergencies of its own: injuries, equipment failures, severe weather. Stock enough food, water and medical supplies to last at least a few weeks, learn basic first aid and wilderness skills, and set up a communication plan. Name emergency contacts and pick meeting points in case you must leave the site in a hurry.
How to build it over time #
Few people can afford to build a full retreat at once. A reasonable order:
- Start small. Begin with basic shelter, water and a food stockpile.
- Add production. Garden beds, animals and preservation equipment come next.
- Add independence. Solar power, waste systems and permaculture follow once the basics are solid.
- Refine security as the site grows.
At each stage, make sure what you have already built works before adding anything new.
Your first season on site #
When you first get access, resist the urge to build everything. A sensible first season looks like this:
- Walk the whole property, mark water, flat ground, slopes and sight lines, and note where the wind comes from.
- Set up water collection and filtration before anything else.
- Put up a simple, durable shelter and test it through at least one real storm.
- Cache a modest set of supplies in waterproof containers and write down what is where.
- Start one small garden bed and keep records on what grows and what fails.
That list is deliberately modest. A small, working retreat is worth more than a half-finished big one.
Maintain it and drill it #
An unvisited site deteriorates. Schedule regular visits to check for leaks, inspect food supplies, test security measures, clean and declutter to deter pests, and repair damage promptly. Upgrade as needed, but do it quietly so the site stays unremarkable.
Practice getting there, too. Run drills with your family or group: travel the route by each alternative, test the water and food supplies, and simulate different disasters to expose gaps. Everyone should know their role. For help planning the journey itself, see our guide to crafting a bug-out plan, and for a comparison of rural and urban options see comparing bug-out locations. For the wider picture of moving, sheltering and improvising, start at the survival skills hub.