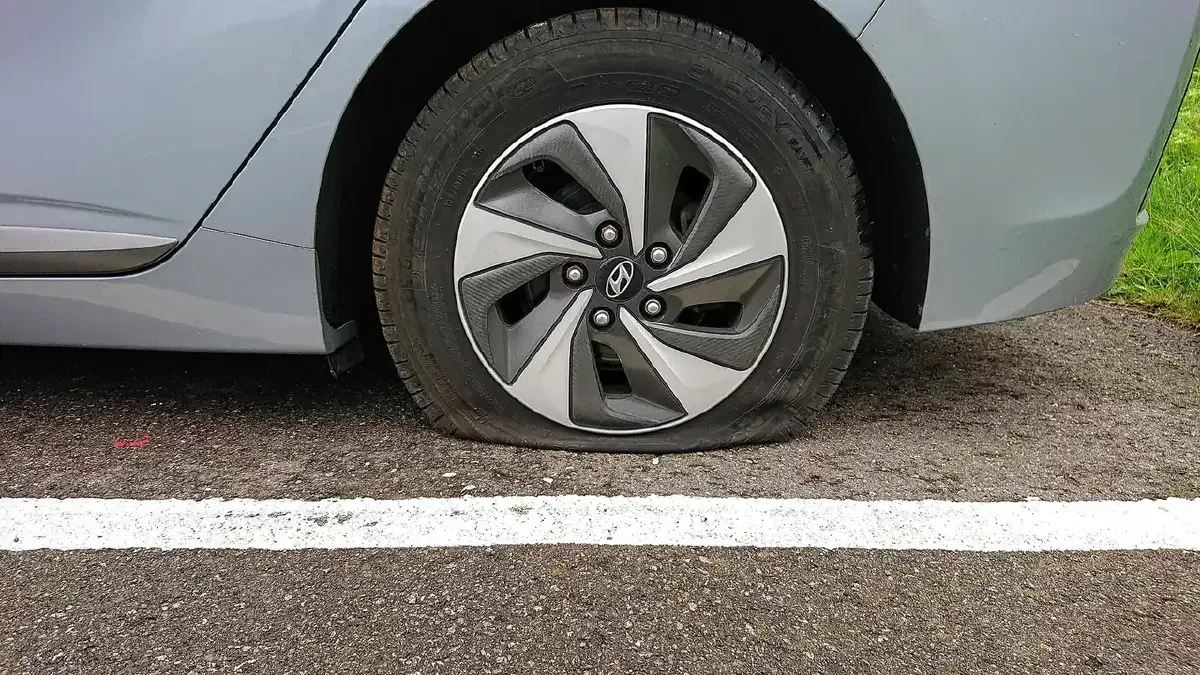
If your plan to leave depends on a vehicle, the vehicle is part of your gear, and it fails in predictable ways. Flat tires, dead batteries, low fluids and overheating engines account for most breakdowns, and almost all of them can be handled on the roadside by someone with a short tool list and some practice. Waiting until you’re stranded to learn how is the expensive way to find out.
This guide covers the tools to carry, the repairs worth practicing, the routine maintenance that prevents most trouble, and what to do to stay safe while you wait or work.
Why this matters more when youre bugging out #
On a normal day, a breakdown costs you time and a tow. When you’re leaving an area in a hurry, it can strand you with the same problem everyone else on the road has, and help may not come. The more you can fix yourself, the more control you keep. Knowing the basics also keeps you calmer, because you can work through a problem instead of staring at it.
The roadside repair kit #
Keep these in the vehicle and check them twice a year.
| Tool | What it does |
|---|---|
| Lug wrench | Loosens and tightens lug nuts when changing a tire |
| Jack | Lifts the vehicle clear of the ground; a hydraulic jack is easier to use |
| Jumper cables | Jump-start a dead battery from another vehicle |
| Screwdriver set | Phillips and flathead for general repairs |
| Pliers | Grip, twist and cut wire and other material |
| Adjustable wrench | Handles nuts and bolts of different sizes |
| Socket set | For repairs and maintenance beyond the basics |
| Tire pressure gauge | Confirms your tires are properly inflated |
| Flashlight | Lets you work in low light |
| Duct tape | Temporary fixes on hoses, panels and fittings |
| First aid kit | Treats the cuts and scrapes that come with working on a vehicle |
Add a few spare bottles of engine oil and coolant, a pair of work gloves, wheel chocks and reflective triangles or flares. It’s better to be overprepared with the kit than to find out at the roadside that the jack is missing.
Changing a flat tire #
This is the most common repair you’ll need to do, and the one most worth practicing in your driveway before you must do it on a shoulder.
- Park safely. Find level, firm ground away from traffic if you can.
- Secure the vehicle. Set the parking brake and put chocks behind the tires.
- Loosen the lug nuts with the wrench while the wheel is still on the ground. They’re much harder to break loose once the wheel can spin.
- Lift the vehicle. Place the jack at the designated lift point (your owner’s manual shows where) and raise it until the flat clears the ground.
- Remove the flat. Take off the lug nuts and pull the wheel off the hub.
- Mount the spare and thread the nuts on by hand.
- Lower the vehicle, then tighten the nuts fully in a star pattern.
- Double-check that every lug nut is tight before you drive. Re-check after a few miles.
Check that your spare is actually inflated and that the jack and wrench fit your vehicle. Many people discover otherwise too late.
Jump-starting a dead battery #
- Park the working vehicle nose to nose with the disabled one, close enough for the cables to reach but not touching.
- Attach one red clamp to the positive terminal of the dead battery, and the other red clamp to the positive terminal of the working battery.
- Attach one black clamp to the negative terminal of the working battery. Attach the other black clamp to the engine block or an unpainted metal surface on the dead vehicle, away from the battery.
- Start the working vehicle and let it run for a few minutes to put charge into the dead battery.
- Try to start the disabled vehicle. If it doesn’t start, check the connections and try again.
- Once it runs, remove the cables in the reverse order you connected them.
A portable jump starter, which is also on the BOV equipment list, removes the need for a second vehicle and is worth the money.
Checking and topping off fluids #
Low fluids cause failures, and checking them takes five minutes.
- Engine oil. Check with the dipstick on level ground. Low oil causes engine damage and poor performance.
- Coolant. Keep it at the proper level to prevent overheating. Never open the radiator cap on a hot engine.
- Brake fluid. Make sure it is topped up; low brake fluid can lead to brake failure.
- Transmission fluid. Check it to keep shifting smooth.
- Power steering and windshield washer fluid. Less critical, but easy to check at the same time.
Find each reservoir, check the level against the sight glass or dipstick, look for signs of leaks around it, and top off as needed. A puddle under the vehicle or a level that drops between checks means a leak you should have looked at.
Handling an overheating engine #
- Pull over somewhere safe and turn off the engine.
- Open the hood to let heat escape.
- Wait for the engine to cool before touching anything. Don’t open the radiator cap while it’s hot.
- Check the coolant level and top it up if necessary.
- Restart once it has cooled. If it overheats again, stop and get professional help rather than risk permanent damage.
Brakes, filters and wipers #
Three smaller items affect safety and efficiency more than you’d expect.
Brakes. Check the pads for wear and replace them if they’re thin. Check rotors for wear or damage, keep the fluid topped up, and test the brakes in a safe place after any work. This is the one system you do not want to guess about.
Air filter. The filter sits in a plastic housing near the engine (your manual shows exactly where). Open the housing, remove the old filter, seat the new one correctly and close the housing securely. A clean filter improves fuel efficiency and engine performance. In dusty conditions, check it more often.
Wiper blades. Inspect for wear, replace worn blades by lifting the arm away from the glass and clipping on a new one, and test them. In rain or snow, visibility is safety.
Temporary fixes with duct tape #
Duct tape can hold a broken part in place, patch a hose, or seal a leak long enough to get you somewhere better. It is a temporary fix, not a repair. Treat it as a way to get to a shop or a safer place, and get the real repair done as soon as you can.
Staying safe when you break down #
Repairs are secondary to safety. When your vehicle breaks down:
- Pull over safely. Get onto the shoulder or off the road entirely so you’re not blocking traffic.
- Turn on hazard lights. Add reflective triangles or flares if you have them.
- Stay inside if you can’t move the vehicle off the road. Keep your seatbelt on until help arrives.
- Call for help. Use your phone to reach roadside assistance, a tow service or emergency services, and give your location and details of the problem.
- Stay visible. If it’s safe, place reflective markers around the vehicle, especially at night.
- Stay calm. Assess before you act.
In a wide-scale emergency, phones and roadside services may be overloaded or down. That’s the reason to practice the repairs above, and the reason to carry a paper map and a radio.
A maintenance schedule that prevents most of this #
The best roadside repair is the one you don’t need. Build a routine:
- Monthly: check tire pressure and tread, and look at fluid levels.
- Every three to six months: test the battery, inspect the brakes, check wipers and filters, and restock the repair kit.
- Annually: a full service by a competent mechanic, including belts and hoses.
Practice each repair at least once when the stakes are low. The first time you change a tire shouldn’t be at night in the rain. Combined with a stocked kit, the routine turns a breakdown from an emergency into a delay, and for related planning, see our full guide to building a bug-out vehicle. The survival skills hub has more on planning the trip around the vehicle.